Resources
Resource files let you bundle binary assets — images, audio, certificates, lookup tables, configuration data — into the application binary. Everything in the resources file ships with your code in a single deployment and is accessed at runtime by name.
Adding a resources file
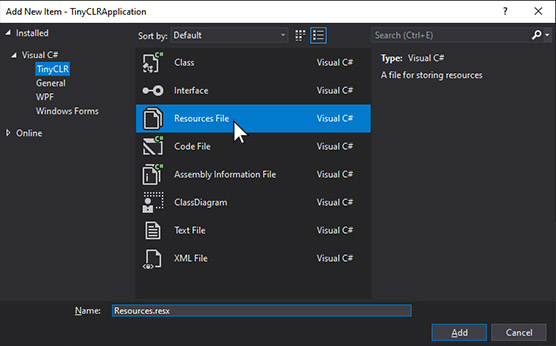
In Visual Studio, right-click your project and choose Add → New Item…, select TinyCLR in the left pane, and pick Resources File. Name the file Resources to match the snippets in the rest of the TinyCLR docs.
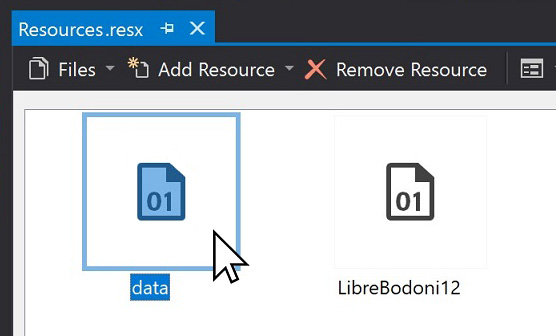
Drag files (images, certificates, binary blobs, etc.) directly onto the resources editor to add them. Each one gets a generated identifier in Resources.BinaryResources.* you can use from C#:
Loading a resource
The generated Resources class exposes each item by its identifier. For binary data:
var resourceData = Resources.GetBytes(Resources.BinaryResources.data);
For string resources, use Resources.GetString(...). Visual Studio generates the matching getter based on the resource type.
When copying example code from these docs, the resource identifier (Resources.BinaryResources.data above) needs to match the name you gave the resource in your own project. The docs use generic names like data, cert, or image — swap in your actual names.
Partial loading
For large resources where loading the entire blob into RAM at once isn't practical, you can read a region by offset and length. This is useful for streaming audio playback, paging through a large lookup table, or reading just the metadata header of a binary asset.
var resourceId = (short)Resources.BinaryResources.LargeBlob;
var chunk = (byte[])Resources.ResourceManager.GetObject(resourceId, offset, readSize);
Each call returns a fresh byte[] of length readSize containing the bytes starting at offset — the rest of the resource stays unread in flash.